
You use a pattern, often called a master, to make an exact negative in your silicone mold. As long as the thing is strong enough to survive the silicone molding procedure, you may use it as your pattern to create a duplicate of an existing item.
Making your pattern is the first step towards creating a new design or prototype. To that end, below are several methods:
- Sculpting: You may use clay to make your pattern if you’re skilled at sculpting or creating a basic design. Sculpting is also an inexpensive and enjoyable pastime for children and do-it-yourselfers.
- Carving: You may use wood to carve your pattern; this works well for flat patterns and tiles.
- 3D Printing: To generate patterns, a lot of experts and designers utilize 3D printers. Desktop 3D printers provide fast turnaround times, excellent accuracy, ease of customization, and flexible design options.
It’s time to have your silicone mold made after you have your blueprint.
Making Silicone Molds: A Guide
Choose whether you want to create a two or one-piece mold first. Both need comparable steps, but a two-piece mold will require more time. To make your own silicone molds, according to these detailed instructions.
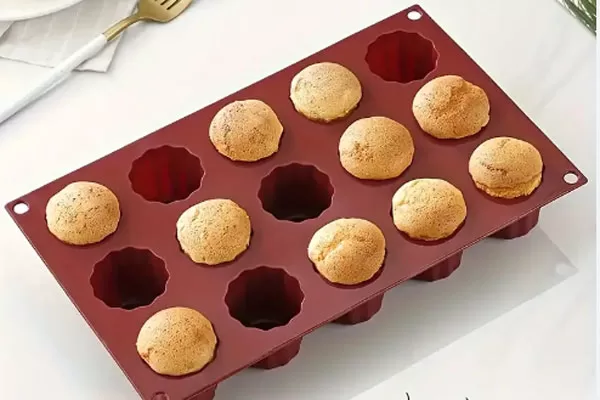
Silicone cake molds
1-Piece Silicone Mold
Develop a master product: You wish to duplicate this final design in a different material. Print your master with a layer height of 50 microns if you’re using a 3D printer. Verify that there are no support marks on the detailed surface and give it a thorough IPA cleaning. Tackiness of any kind may interfere with silicone molding.
Build the mold housing: Either coated MDF or a prefabricated plastic container will work. Ensure that it has a level bottom and is nonporous.
Place the master in place and use mold release: Apply a little amount of mold release to the inside of the mold housing. With the detailed side facing up, place your master inside the box and softly mist it with mold release. Give it ten or so minutes to dry.
Get the silicone ready: In accordance with the directions, combine the silicone rubber. Eliminate air bubbles using a vibrating tool, such as an electric sander.
Pour the silicone into the mold housing: Starting at the bottom and working your way up, carefully pour the blended silicone into the box in a thin stream. Put at least one centimeter of silicone covering your master. Let it cure; depending on the kind and brand of silicone, this might take an hour or a day.
De-mold the silicone: After it has dried, take the master and pull the silicone off the box. This will serve as your product’s mold during casting.
Put in your effort: After lightly misting the silicone mold with mold release, let it ten minutes to dry. Fill the mold with your substance (concrete, wax, etc.) and let it to cure.
Get the mold ready for the next casting: This silicone mold is reusable for many uses. Simply go back to step 7 and repeat the procedure.
2-Piece Silicone Mold
Make a master and build the mold housing first, as mentioned in the previous two procedures. Then do these actions:
Lay out the master in clay: Form one half of the mold by placing clay into the mold housing. Inserting the master halfway into the clay is the proper position.
Get your silicone ready and pour it in: Mix the silicone according to the directions on the box, then pour it into the mold housing over the clay and master. This will create the first half of your two-part mold. After the first half has dried, remove the silicone mold, the master, and the clay from the mold housing.
Remove all the clay: Remove all the clay to expose the master and the first half of your silicone mold.
Reinstall the master and mold in the housing: Reinstall the master and the first silicone mold into the housing, ensuring the master is facing up this time.
Apply release agent: To facilitate de-molding, lightly coat the top of the master and the initial silicone mold with release agent. For the second mold, have the silicone ready and pour it in: To make the second half of your mold, mix the silicone and pour it. Allow enough time for the second mold to cure before removing it from the housing. Wait for the second mold to cure.
De-mold your components: Carefully take out both silicone molds from the housing and separate them.